


A Quick Step-By-Step Guide to Espresso-Inspired Makeup
Let's Decode it! Turn your favorite morning brew into a smokey, sultry makeup look with the new espresso makeup trend. No need to visit a coffee shop for inspiration—we've decoded the steps to help you effortlessly master the look!

Featured Products
HOW TO GET THE LOOK
STEP 1: GETTING A GLOWY BASE
To start recreating the espresso makeup look, begin by creating an even, glowing base by applying a dewy foundation, such as Maybelline Fit Me Dewy + Smooth Foundation. For a seamless and naturally luminous finish, apply this foundation with a damp beauty blender, starting from the center of your face and working your way out towards the jawline and hairline.
Head to our Foundation Shade Finder to help you find the perfect shade for your complexion.
STEP 2: SWIPE AND SMUDGE
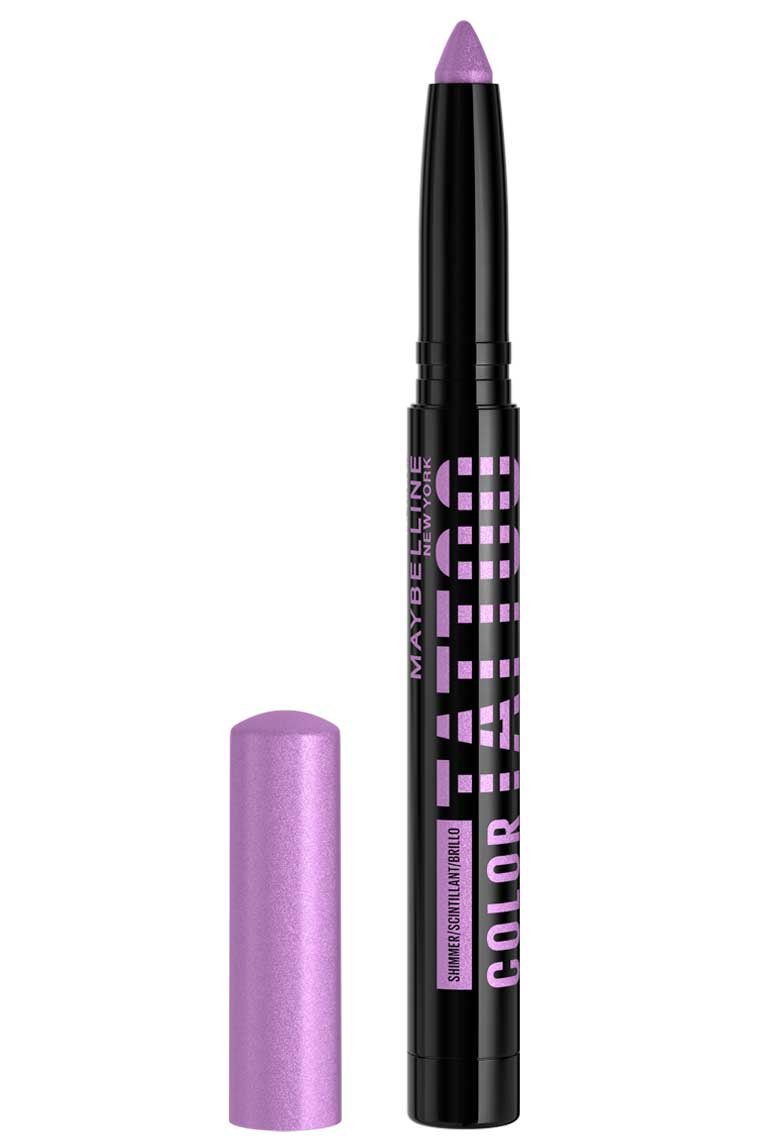
Take a dark brown eyeshadow stick, we love the Maybelline Color Tattoo Eye Stix in the shade I am Determined for this look, and apply it to the outer corners of your upper lids, extending it up towards the crease. Don't be too precise; we're aiming for a smokey effect. Using your finger to tap and blend the product across your lid, pull the product up so that it reaches the bottom of your brow bone.STEP 3: EXTEND THE DRAMA
Bring the drama to your lower lash line by applying the same brown eyeshadow as above. Applied as close to the lashes as possible, blend it out with your finger for a sultry, smoked-out effect. This step creates a harmonious balance between your upper and lower lids, enhancing the espresso makeup look.STEP 4: WING IT
On the outer upper lash line, trace the rough shape of a wing with a sharp brown pencil eyeliner, such as the Maybelline Tattoo Studio Smokey Gel Pencil in the shade Smokey Brown. Aim for a soft, smudged effect rather than a sharp line. Use a small, angled brush to gently tap and blend the product out until you have your desired wing shape and length.STEP 5: A SHIMMERING TOUCH
Using the Maybelline Color Tattoo Eye Stix again, this time in the shade I am Shining, add a touch of shimmer to the tear ducts. This step not only brightens your eyes but also creates a captivating contrast against the smokey backdrop of your upper and lower eyelids.STEP 6: LENGTHEN THOSE LASHES
Coat your lashes with a lengthening and volumizing mascara, wiggling the wand from the root to the tip for maximum impact. For extreme length, use an eyelash curler before applying your mascara followed by Maybelline The Falsies Surreal Extensions Waterproof Mascara. Don't forget the lower lashes; a few coats will open up your eyes, making them seem bigger and more awake… like you’ve just taken the first sip of your morning coffee.STEP 7: THE PERFECT POUT
Complement your look with a shiny, brown lipstick. We recommend Maybelline SuperStay Vinyl Ink Longwear Lip Color in the shade Punchy as it will tie in perfectly with your eyeshadow as well as add dimension to your lips. Prefer a lighter, nude lipstick? Try out the shade Golden. For a fuller effect, focus the lipstick on the center of your lips and blend outward. This technique enhances the natural curves of your lips and adds a touch of high-impact color to your espresso look. For a warm, autumnal finish, apply a layer of golden brown glittery lip gloss on top. Our recommendation is Maybelline Lifter Gloss in shade Crystal. Keeping your lips moisturized and fuller-looking, this lipstick look refuses to budge, no matter how many espressos you have!STEP 8: ILLUMINATE THE CHEEKBONES
Finish by dusting a highlighter onto your cheekbones, focusing on the highest points for a radiant finish. To give your face a luminous, coffee-inspired warmth, think about applying a brown-based shade, such as Maybelline Facestudio Master Chrome in the shade Molten Gold.