A SIMPLE GUIDE TO MASTERING THE FLUTTERING FAIRY MAKEUP LOOK
Let's Decode it! Turn up to your next costume party with a makeup look that’s worthy enough to have its own fairytale! Just as captivating as the fluttering wings of fairies themselves, this simple fairy makeup look will leave everyone who looks your way fascinated. To achieve the perfect look, simply follow this step-by-step guide that uses some of our favorite Maybelline products.
Featured products
HOW TO GET THE LOOK
1. Stick to stencils
We’re all too familiar with the struggles that face us when we want to try out a new graphic eyeliner look. We’ve watched the tutorial a thousand times over, but still, influencers just make it look effortless. Enter sticker stencils. So much more than your childhood stickers, these little gems are perfect for allowing you to ditch the free-hand technique and achieve clean, razor-sharp shapes and lines. For this blue fairy makeup, begin by finding yourself some small star-shaped stickers… or any shape you want for that matter!2. STARS IN YOUR EYES
For this graphic fairy makeup, start by carefully peeling off two stars for each eye, placing one at the top, outer edge of your brow bone, and the second slightly above and across from it, at the tip of your eyebrow. These stencils will allow you to add a touch of fantasy to your fairy wing costume look.3. THE FAIRY WING
The key to achieving a precise look is ensuring that both wings are identical, and to do this you first have to trace the outline of the wings. Armed with your Maybelline Tattoo Studio Sharpenable Gel Pencil Eyeliner in the shade Lime Smash, start by drawing a diagonal line up from the outer corner of your eyes, extending out until you meet the bottom of the star placed beside your eyebrow. Next, draw the top of the wing by applying a second, curved line that starts from the inner corner of your upper lid and traces your brow bone, overlapping the stars. Then, with the same eyeliner, fill in the fairy wings until you get a solid shape.4. SHAPE AND INTENSIFY
To create a dramatic contrast between the wings and the stars, grab a Maybelline Tattoo Studio Sharpenable Gel Pencil Eyeliner in the shade Arctic Skies and trace the shape of the stars. Then, using a pair of tweezers for more precision and to avoid smudging the eyeliner, remove the star stencils. Go over the outline of the stars with the same blue eyeliner to clean up the shapes and add intensity. To create a dramatic contrast between the wings and the stars, grab a Maybelline Tattoo Studio Sharpenable Gel Pencil Eyeliner in the shade Arctic Skies and trace the shape of the stars. Then, using a pair of tweezers for more precision and to avoid smudging the eyeliner, remove the star stencils. Go over the outline of the stars with the same blue eyeliner to clean up the shapes and add intensity.5. CREATE SOME CONTRAST
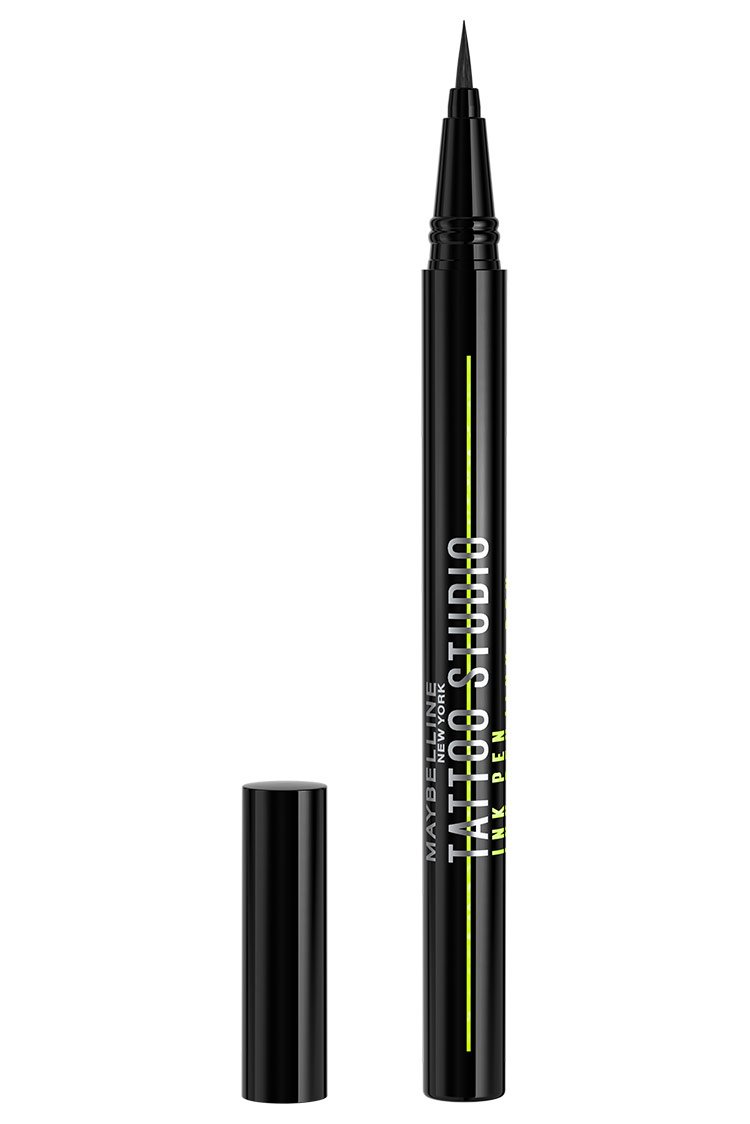
To really make your eyes pop, it’s time to add even more contrast. To do so, simply line the lashes using some black Tattoo Studio Ink Pen Eyeliner, taking the line out to draw a subtle, fine wing.6. REPEAT
To create the bottom part of the fairy wings, you have to repeat the process with the stencils and eyeliner, this time underneath the eyes. Using just one star stencil, stick it a few inches under the outer corner of your eye. With the Lime Smash eyeliner pencil, draw one line starting from the outer corner of the lash line, reaching down to meet the star, and a second line from the center of the lash line, again, descending to meet the star. Finally, color in the shape and repeat step 4.7. FINISHING TOUCHES
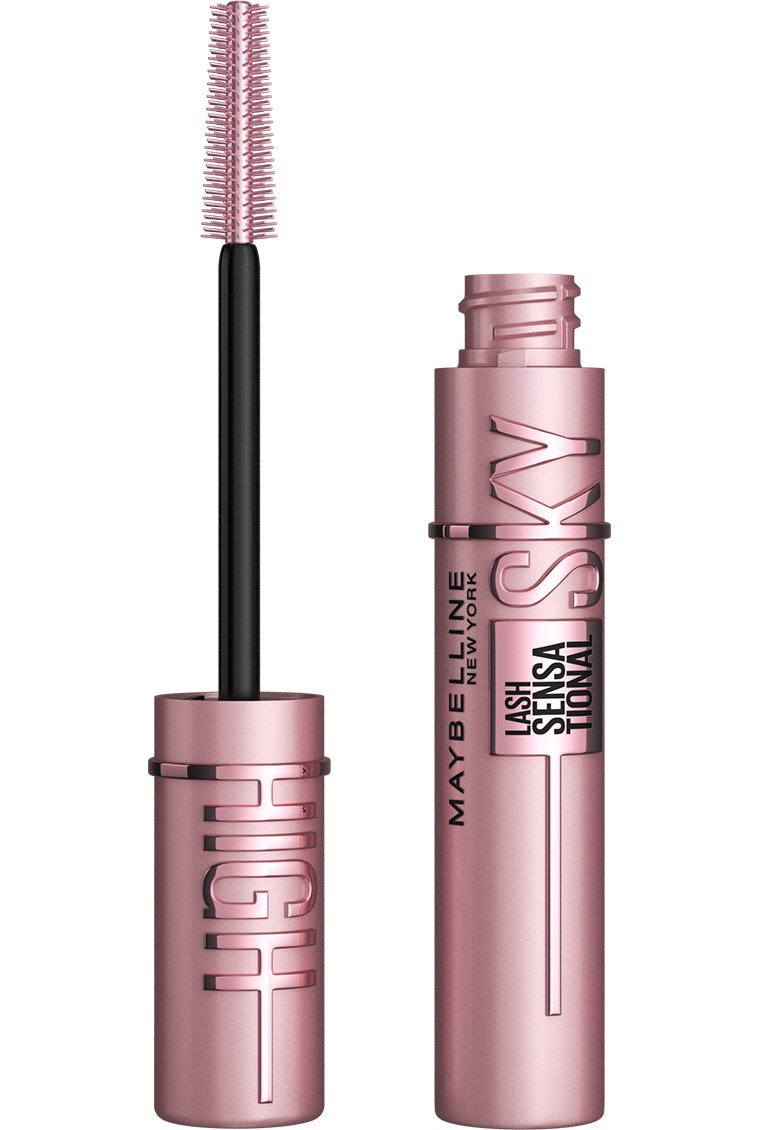
Finish off your fairy makeup with a few coats of Maybelline Lash Sensational Sky High Washable Mascara. Last but not least, apply a touch of Maybelline Tattoo Studio Sharpenable Gel Pencil Eyeliner in the shade Polished White to your tear duct and along your water line for a whimsical touch that’s been taken straight from a fairy tale.


